Showing posts with label Easter Blessings. Show all posts

Friday, March 25, 2016

You Fill My Heart with Sunshine!

Hello Cardz TV Gallery Fans, Brenda here from Friends Craftin' with Friends and it's my turn to share with you today. Since Easter is this weekend I needed to decide what I was doing for the grands this year. So I saw this tutorial over at Split Coast Stampers and decided that I would make these for the grands. They are so easy to make!! I made 6 of them, but only showing you one. They are all the same except for the colors and papers. My butterfly doesn't show up to good, no natural light when I took the picture. Sorry about that. This is about the only time I can seem to get crafty, when I need something for the grands. And of course spring is here and I am starting to mow now too. That keeps me busy. So I'm not very crafty at the moment, hopefully when I get through this year of "firsts" since my husband passed, I will get a little more crafty. I want to make the grands an album of them with their Papaw here soon, so I hope my mojo comes back some time within the year. Recipe at the bottom of post.

Thanks for visiting Cardz TV Gallery, don't forget to come back as their is always inspiration for you 5 days a week! Crafty hugs, Brenda


Recipe:
Cardz TV Stamps-It's All Good and Easter Blessings
My Creative Time-Bunch of Stitched Dolly Dies
                              Pretty Butterflies & Dragonfly Dies
                              Stitched Round Tab, Arrow & Tag Dies
Martha Steward-punch for the basket handle-sorry don't know the name
                         -butterfly punch
Stampin' Up-Bow punch
Homemade enamel dots


Thursday, April 16, 2015

Encouragement Mini

Hi, everyone! DT Janis here today!

I hope you guys are enjoying your April so far. What have you been doing this spring?

As I write this, it's actually March 12, 2015; not even April yet. The weather is warming up to mild instead of freezing; flowers are beginning to bloom; pollen is dusting the windshields and sidewalks; and I'm loving it.

The project I have to show you today was made especially for a family member who is taking care of her husband as he fights Lewey Body Syndrome, Parkinson's, and now cancer. I'm hoping she will place it somewhere to remind her there is strength beyond our own limits.

This is an accordion album. It can sit on your desk, dresser, coffee table, shelf, wherever.


Scriptures for both sides were stamped using Mary's Cardz TV Stamp sets:
  • Rejoice
  • Easter Blessings


Instructions:
  • Cut a piece of cardstock to 12" x 4"
  • Score every 3"
  • Accordion fold
  • Cut matting for each panel at 2 3/4" x 3 3/4"
  • Cut decorative paper for each panel at 2 5/8" x 3 5/8"
  • Cut solid white cardstock for stamping messages at 2 1/8" x 3 1/8"
I used Tim Holtz Distress Ink "Wild Honey" and a sponging tool to soften the white around the edges, but leave some white space in the Scripture message.


  • Chipboard Hearts are from Studio Calico's Project Life monthly kits.
  • Decorative papers from KasierCraft "Fine & Sunny" 6 1/2" square pad.
This came together easily and quickly. You can customize this for any occasion, celebration, or thinking of you project.  I love making these.

Thanks for stopping by today to see what I'm up to. Enjoy the rest of your day!


Thursday, April 9, 2015

Cardz TV Gallery: Happy Easter


Hello Everyone!

Its Gloria from Girlia's Cards.  Thank you for visiting me today so that I can share this card with you.  This little chick is just too cute.  It just makes you smile...

Please make sure that you visit Cardz TV Stamps and pick up your set today and don't forget to visit Cardz TV Gallery tomorrow for more inspiration.  Enjoy and GOD Bless!


Recipe:
Card Stock (PTI, Recollections)
Cardz TV Stamps (Easter Blessings)
Glossy Accents
Pop Dots

Wednesday, March 11, 2015

You're a Tweetie!

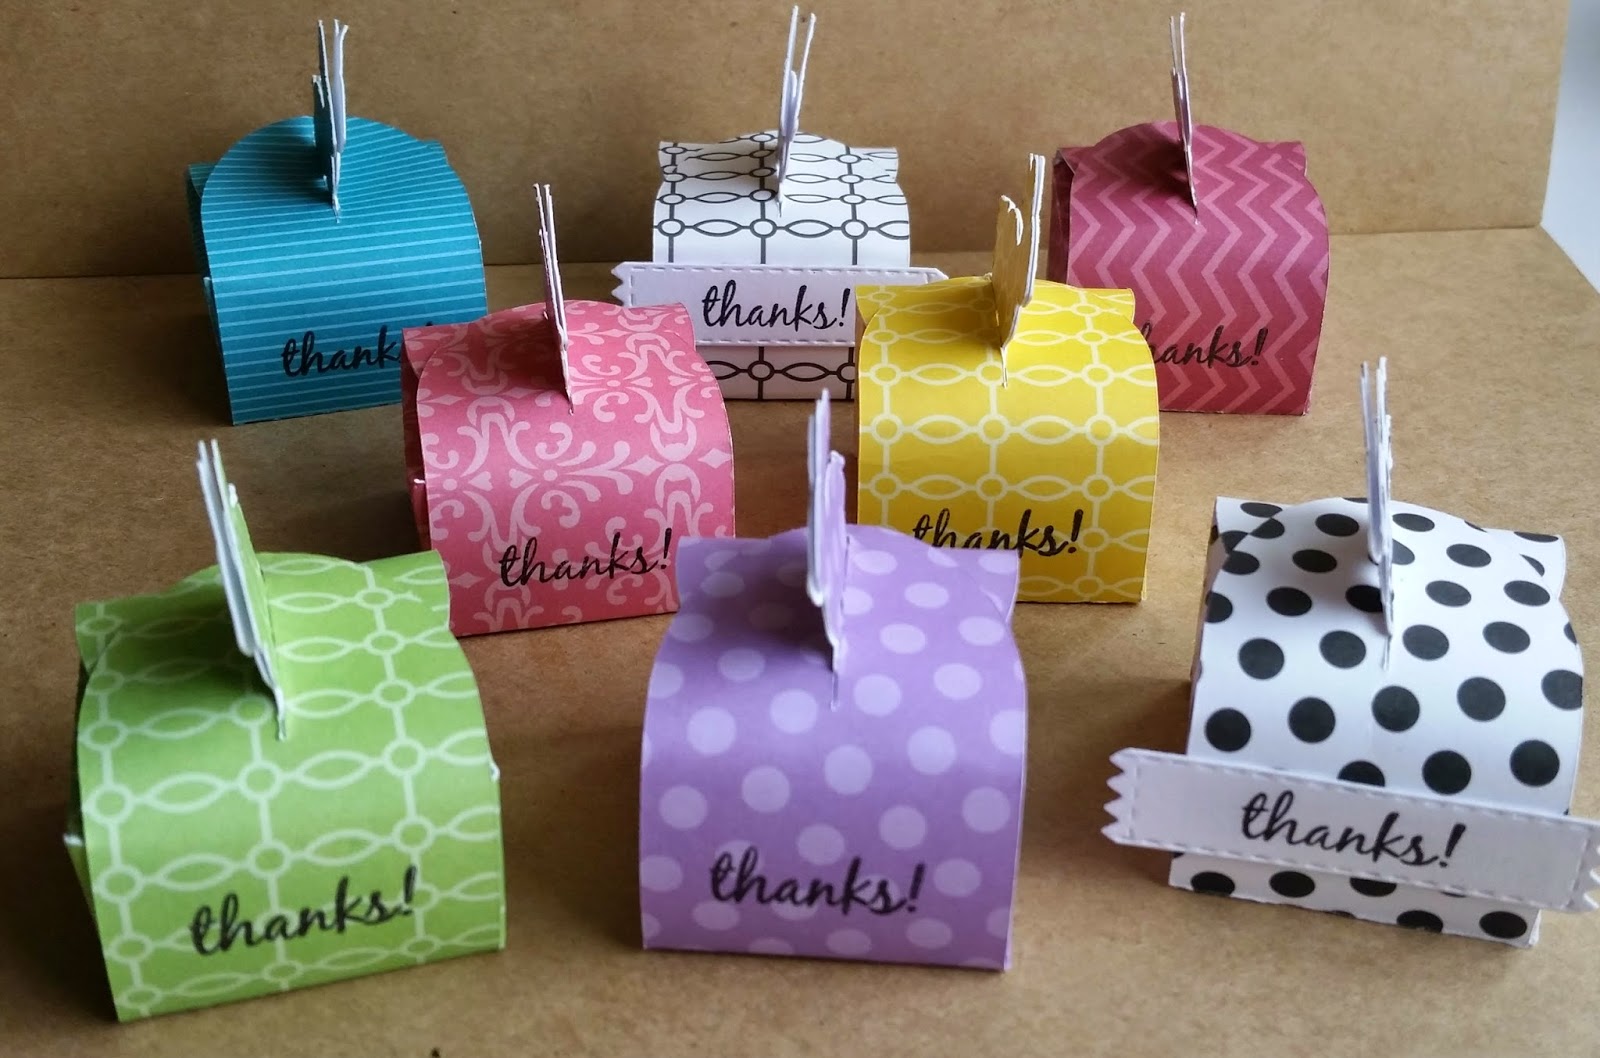
Hello Cardz TV Gallery friends! I hope you are having a wonderful week and that your weather is nice. Brenda here from Friends Craftin' with Friends to share with you today. I recently had a SU party and I wanted a little thank you gift to place in the bags of my orders. So I made these cute bunny boxes on my Explore. I found it on the CTHM Artiste cartridge. I cute them at 7 inches, and I put 3 pieces of candy in them, a mint and 2 Hershey Kisses. On the spring color ones, I just stamped my "thanks" directly on the box, but for the white and black ones that wouldn't work, so I cut a tag out and placed my thanks on it instead. Aren't they dear?! The Cardz TV stamp set that I used was Heartfelt Wishes and you can find that here. I used the "many thanks" sentiment and just cut the many off. I can still put the stamp back together to stamp the whole sentiment if I so choose to. 


My next project is some boxes for Easter for my Grandchildren, still have to make another yet. I used my Explore once again with some Lori Whitlock files. My first time cutting SVG files and I have to say that I am loving using other files too! For these cute boxes, I used the CardzTV stamp sets Easter Punnies, Birds and Bees and Easter Blessings and you can find them here. I stamped on a top note styled tag and placed it on the back of the boxes where I will sign "love papaw and grandma". These little boxes are just adorable and I will be filling them with some candy.

That's it for me today, please come back tomorrow to see what another of my design team sisters have for you! Crafty hugs, Brenda


Saturday, November 22, 2014

Card Organization

Hello crafty peeps, I hope you are having a fabulous Saturday. Brenda here from Friends Craftin' with Friends. Today I have a two or three parter for you. I will bring you half of my project this Saturday and then next Saturday I hope to finish it up and show you the finished product. I don't know about you but I'm always late with my birthday cards that get mailed out. It's really been bugging me so I thought I'd make a book to place my finished cards in. With each month having a pocket for those month's birthday's, anniversaries, etc. Maybe this will help me get my greetings out to my loved ones on time. Hey stranger things have happened!! lol Besides it can't hurt to try, right?! So I sat down and designed on paper what I wanted to do. I figured I would keep my pages 8 1/2 x 11 inches and I would have two months on one piece of card stock, and I knew each month would have to have a pocket to hold the cards. Next I would need a place to write each month's dates on and whether it is a birthday or anniversary, etc...So I planned that out in Microsoft Word to be printed later and added to the pages. I got my pages assembled and started putting my papers on each month. I used The Paper Studio "All Seasons" paper from Hobby Lobby. I cut out my months with Designer Calendar Cricut cartridge along with the shadow. I took a 1/2 inch strip of white paper and stamped sentiments from Card TV Stamps. Some you will see don't have any stamping on it, that is because I don't have any stamps for that month. I will have to be ordering them from Mary to finish my stamping. Now what I didn't plan on was my binding when I stamped my sentiments. So some of my sentiments on the left hand side might get a hole punched in it. I plan on binding all my pages along with a front and back cover with my Cinch. I may or may be adding some additional decorations/embellishments to my pages as I go along. So this might turn into a three parter, so I hope I don't bore you!! I have Jan. - June for you today. This is just the page with the paper and sentiments done. The embellishments haven't been added yet, and it hasn't been bound. The Cardz TV Stamps used on today's pages are: Sugar Rush, St. Patrick's Day, Easter Punnies, Easter Blessings, and Think Spring. 

I hope to see you back next Saturday to see this more done on this card organization. I also hope this has inspired you to make a card organization book for yourself! And as always, your comments warm my heart so, so thank you for them. Crafty hugs, Brenda